Tuesday, October 20, 2009

Creativity: a discussion.

Hi fiends,

Again, sorry for the lack of communication. I'm still busy making stuff, I just haven't been in the right frame of mind for blogging about it yet.
In fact I'm still not. This post is about creativity.

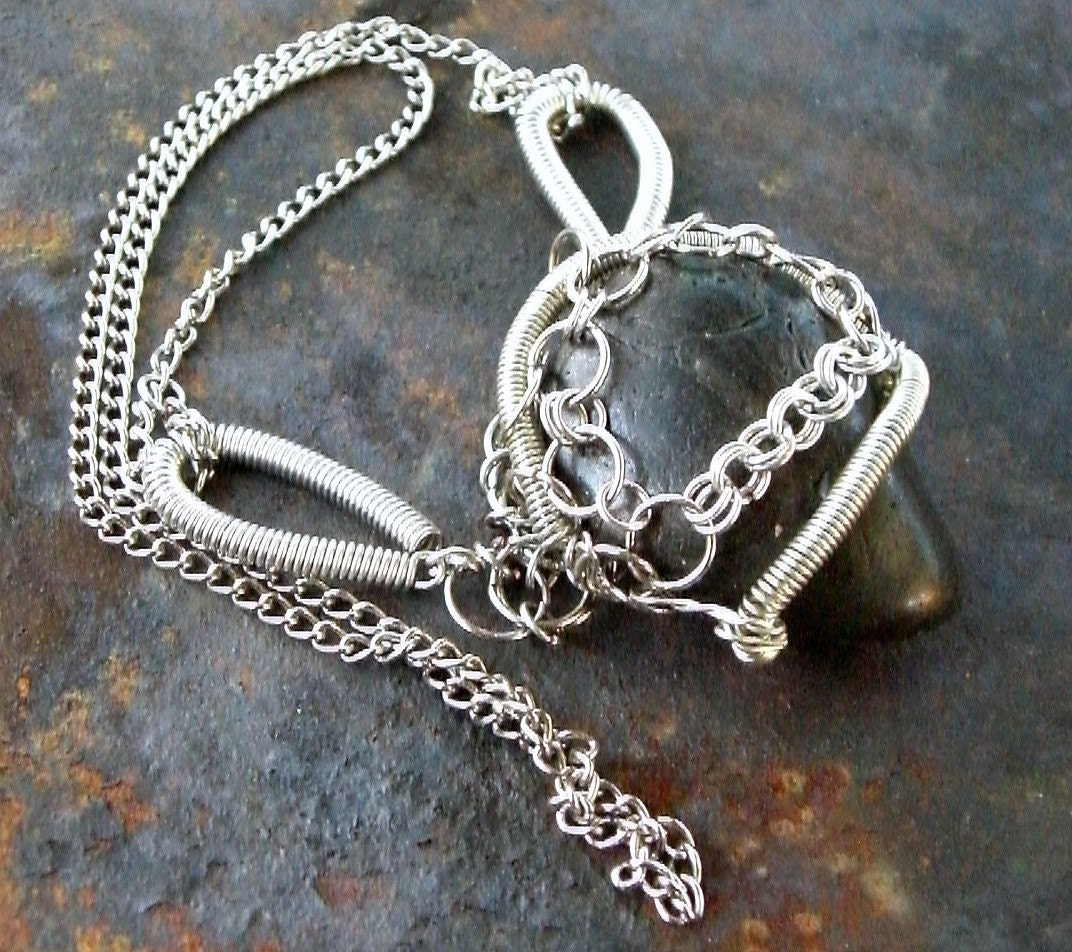
EEP! Better put a picture in so people don't get bored!

Phew.

Anyhoo, there are two ways to tell someone their creative. You can say "Wow! That's so creative!" or you can say "Hmm. Very... creative." I'm the second one ("creative" and "interesting" are interchangeable). It's not that people don't like my work (they very much do), but think that people have trouble figuring out where my inspiration comes from. Which is understandable because I have the same problem.
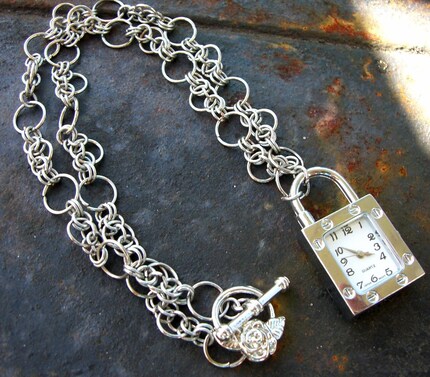
Picture.

When I was in high school, I studied Art for my senior years (11 and 12 for the Aussies out there). We had to do a Visual Diary, telling the story of how we developed the ideas for our artwork. I totally sucked at it. In fact, I totally sucked at the subject. I got a C and I swear that just because the teacher liked me. See, it's just not how I roll. I don't plan. My inspiration arrives and I just go with it. Structured courses and me don't mix when it comes to creativity.

I'd really like to hear from others about where their ideas come from. Is there others like me out there who can't tell you what their doing until they've done it? Is structure the only way you can finish? Let me know :)

Bookmark and Share

Friday, October 2, 2009

Another feature :)

Hi all!
Sorry about the pause in posts, the day job got busier than usual.

Just a little post to let you know that a piece of mine has been featured on the Chainmailler's Guild blog here!

*sniff* I'm so happy!

Bookmark and Share

Thursday, September 24, 2009

New Item in Shop

Hello all!
I've just posted a new item in my etsy store. It's a steampunk necklace with a pendant made from a watch casing and a swallow charm. The chain is Japanese 8-in-1 chainmaille weave.

Check it out here: http://www.etsy.com/view_listing.php?listing_id=31460214


Bookmark and Share

Thursday, September 17, 2009

Making Resin Pendants - Part 2: Casting

Finally! I've gotten to part 2!
I apologise for not posting sooner, I kept leaving my photos behind!

I started my resin pendant making tutorial by going through the materials needed to get started. In this post I'll be demonstrating how to cast them.
  1. Measure out your mix.
    As I said in Part 1, please be careful to measure the correct proportions for the 2 parts. Some brands have a catlyst to mix with the resin, others have two types of resin. I'll be demonstrating with the Aldax resin that requires equal amounts of 2 resins to be mixed.

  2. Pour the 2 parts into a single container and mix thoroughly with a popcicle stick. I prefer to use a completely seperate cup to mix in, that way I can reuse the measuring cups without ruining them.
    The resin should appear shimmery (is that a word?) as you mix it.
  3. At this point you can choose to add things to your resin to add color or texture. It's totally up to you to decide what to add (refer back to Part 1 for some ideas). For this tutorial I've added some pink pigment. This will remain transparent, but pink :)
    Note: This is not when you place a solid item in the resin. That is a different method which I will cover in another post.

  4. Spray a layer of release agent onto your mold.

  5. Pour the resin. That's it. No fancy tricks. Just make sure you get it in the mold. Or if you can't, make sure it doesn't hit anything that can't get ruined (like your new black work pants...).
  6. Lastly, place the mold in a dry, warm spot where cats, frogs, other humans and any other curious creature can get to it. Don't touch it for 48 hours. Seriously. You will look at it after 24 hrs and think "that looks done" but it isn't. 24 hours after that you'll realise what finished looks like. Trust me. I still do it.

    So that's Part 2. I hope it was worth the wait. The next part will cover the variation in the method that is used for casting objects, and the last part will cover finishing your items.

    Thanks a lot for reading (and referring... hint, hint) and I shall leave you with a picture of my warm place away from cats, frogs, humans and especially me :D


Bookmark and Share


Baroness Delphinium Badger


My steampunk name is Baroness Delphinium Badger.
I love it! I want to have it legally changed!!

Generated your own steampunk name at http://brassgoggles.co.uk/blog/steampunk-resources/steampunk-name-generator

Post it in comments :)

Bookmark and Share

Tuesday, September 15, 2009

Chris' Comments Commented on my Tree!

The fantastic MemoriesInMosaics runs a blog called Chris' Comments.
One of the things she does is feature work from other etsy artists who follow her blog. My Tree on Chainmaille has made this feature list :D
Check it out at http://cbcrafter.blogspot.com/2009/09/thank-you-to-my-followers.html

Bookmark and Share

Tuesday, September 8, 2009

Making Resin Pendants - Part 1: Supplies

I've decided to write some tutorials on casting resin.
Casting resin is a great way to make sturdy, attractive, and original pendants. You can make them in different colours, float different things in them, mold them in any shape that you can find a mold for (or make a mold for) and some other things I can't think of because I'm blogging at 10pm.

So that this isn't a massive post that goes on forever, I've also decided it do it in parts :)
Today I will start off by going through the various supplies required for casting resin.
  1. Moulds
    No point mixing up some resin without something to put it in!
    There are varieties of moulds available specifically for resin casting. Furthermore, so long as you can pop the resin out once it's set, you can use just about anything! The face mold shown is technically for plaster. Technically-shmechnically...

  2. Resin
    Well duh, but I just have a note to add here. Resin comes in 2 parts. Always. The reason is because if you didn't need to mix it then there'd be nothing to stop it setting in the bottle! The thing is that you can't nececarily swap brands. Each brand has its own ratio. Pictured below is 2 different brands. One is from a resin casting online store (Aldax). The 2 parts should be mixed even-stevens. If the amounts are uneven, the resin won't set.

    The second set is from an Australian hardware store (Bunnings). The resin in this case is mixed with a catalyst agent at 3%. That means 200 ml of resin with 6 ml of catalsyt. Big difference, huh?

  3. Measuring cups
    You need 3. Two for measuring out each individual resin and another for mixing then into.

  4. Popcicle sticks
    For mixing.

  5. Mold release agent
    Some molds are ok, but you're better off having it than not. The release agent is sprayed onto the moulds before the resin is cast.

  6. Additives
    The fun part. This is whatever you want to cast into your resin.
    A few examples shown here are glitter, transparent dye, and marble dust (face up top used marble dust).

And that's all you really need to get started! All of these products are available at reasonable pricing. I only know where to get them from Australian sites though. If you like some shop websites, just leave a comment and I'll get onto it.

Stay tuned for the next post where I'll demonstrate (via photos) the mixing and casting.
I know I can't wait :P

Bookmark and Share